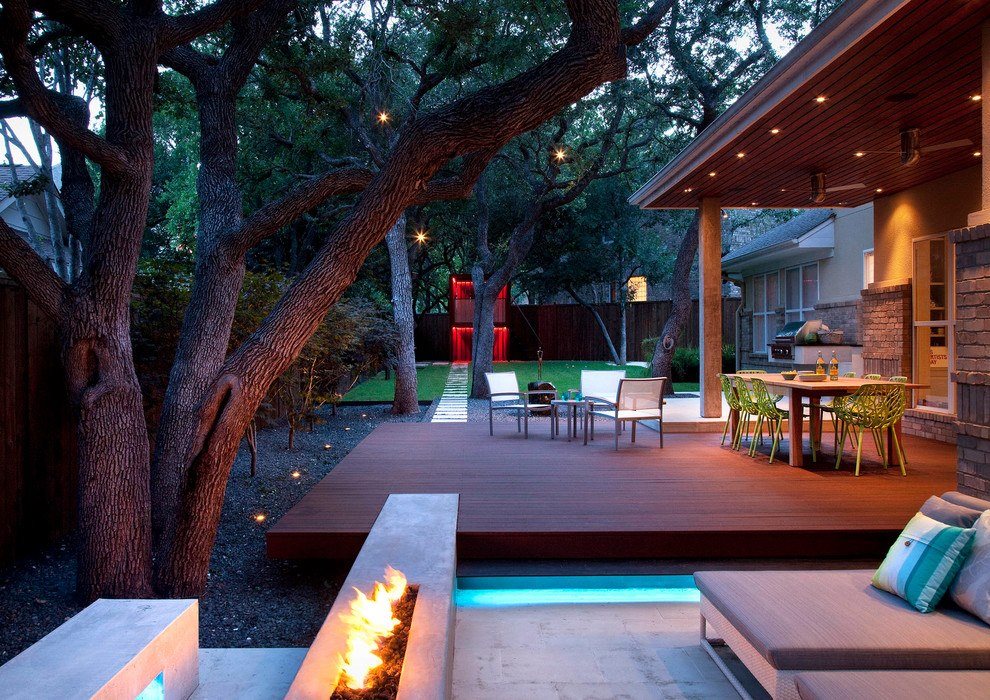
How to Make a DIY Solar Landscape Lighting
Adding DIY solar landscape lighting to your yard or garden is a great way to add some beauty and functionality to your outdoor spaces. Not only do these lights look beautiful, but they also make it easy to see what you’re doing in the dark, which can be really helpful when you’re outdoors at night.

In addition, DIY solar landscape lighting is a great way to save money on your electricity bill. Solar lights are powered by the sun, so they don’t use any electricity at all. That means that you can save money on your energy bill every month by using solar lights instead of traditional electric lights.
Making your own DIY solar landscape lighting is a fairly easy project that anyone can do. You’ll need to gather a few supplies and have some basic tools on hand, but other than that, it’s really not difficult. Let’s take a look at what you’ll need to get started.
You’ll need:
- Solar lights
- Paint
- Paintbrushes
- Stencils (optional)
- Base plates (optional)
The first thing you’ll need to do is gather your supplies. You can find solar lights at most home improvement stores or online. Once you have your solar lights, you’ll need to decide what kind of design you want to create.
If you want to keep things simple, you can just paint the solar lights with a solid color. Or, if you’re feeling creative, you can use stencils and base plates to create more elaborate designs.
Once you’ve gathered your supplies and decided on a design, it’s time to get started! Begin by painting the solar lights with your chosen paint color. If you’re using stencils, be sure to follow the directions carefully so that your design turns out correctly.
Once the paint is dry, it’s time to add solar lights to your yard or garden. Place them in areas where they will get plenty of sunlight during the day so that they can charge properly.
Now, enjoy your beautiful new DIY solar landscape lighting! These lights are sure to add a touch of elegance and magic to your outdoor spaces.
